APIs
CMP is built on REST-based APIs. Use this page to enable API access, generate tokens, authenticate, and configure role-based permissions for integrations.
| Topic | Summary |
|---|---|
| API style | REST |
| Auth | Bearer token from Profile → API |
| Enablement | Admin APIs and User APIs — both off by default; contact StackConsole to enable |
| Docs UI | Swagger / Postman-style URL generated with the token |
CMP API reference documentation is still being prepared and may not yet be complete. If you need details for a specific endpoint that is not documented, contact the StackConsole team for guidance.
Prerequisites
Before integrating or calling CMP APIs, ensure API access is enabled for your platform.
CMP provides two enablement settings:
| Setting | Purpose |
|---|---|
| Admin APIs | Administrator-level APIs. When enabled, only administrator users can generate access tokens and run operations that require admin privileges |
| User APIs | Customer / user-level APIs. End users can generate access tokens and call APIs allowed by their role |
By default, both settings are disabled. To enable API access for your environment, contact the StackConsole team.
Generate API access token
- Log in with the end user’s (or integration user’s) credentials
- Open Profile → API
- Click Enable API
CMP instantly generates:
- API Access Token
- API Documentation URL
Open the documentation URL to use the interactive API interface (Swagger / Postman-style).
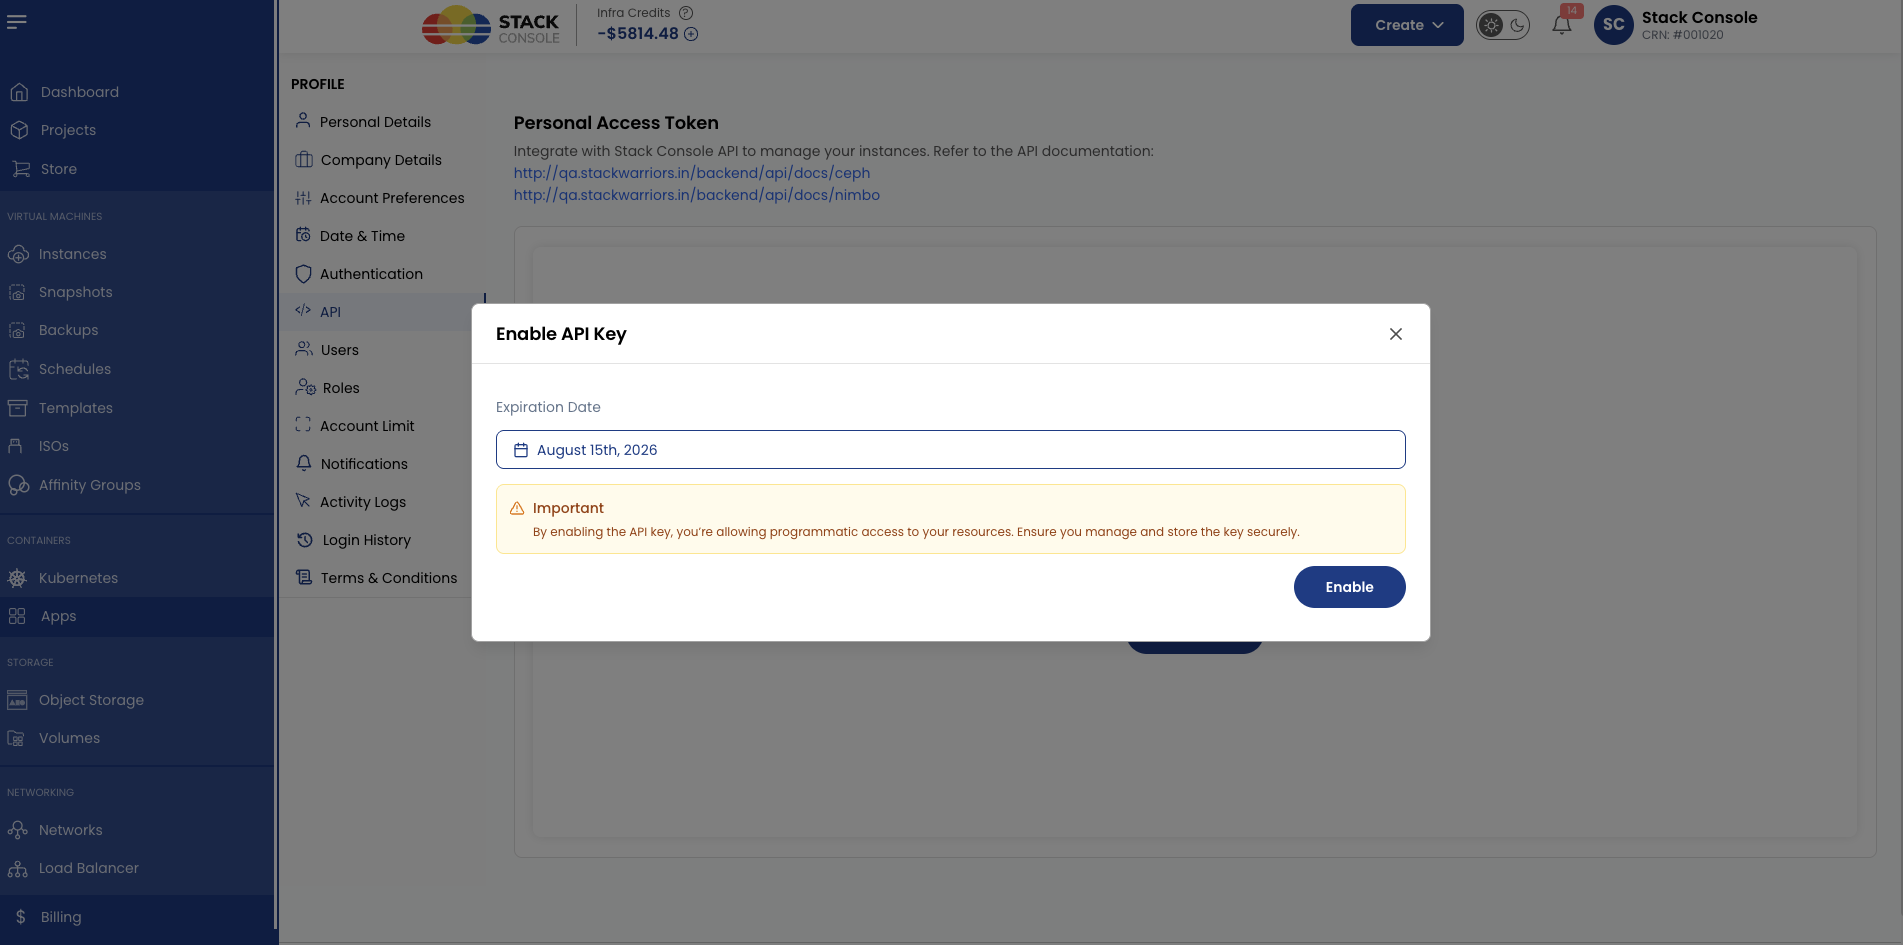
Use the token to access the API
- Copy the API Access Token from the API page
- Open the API Documentation URL
- Authenticate:
- Open Authorization → Bearer Token
- Paste the token
- Call endpoints allowed by that user’s role permissions
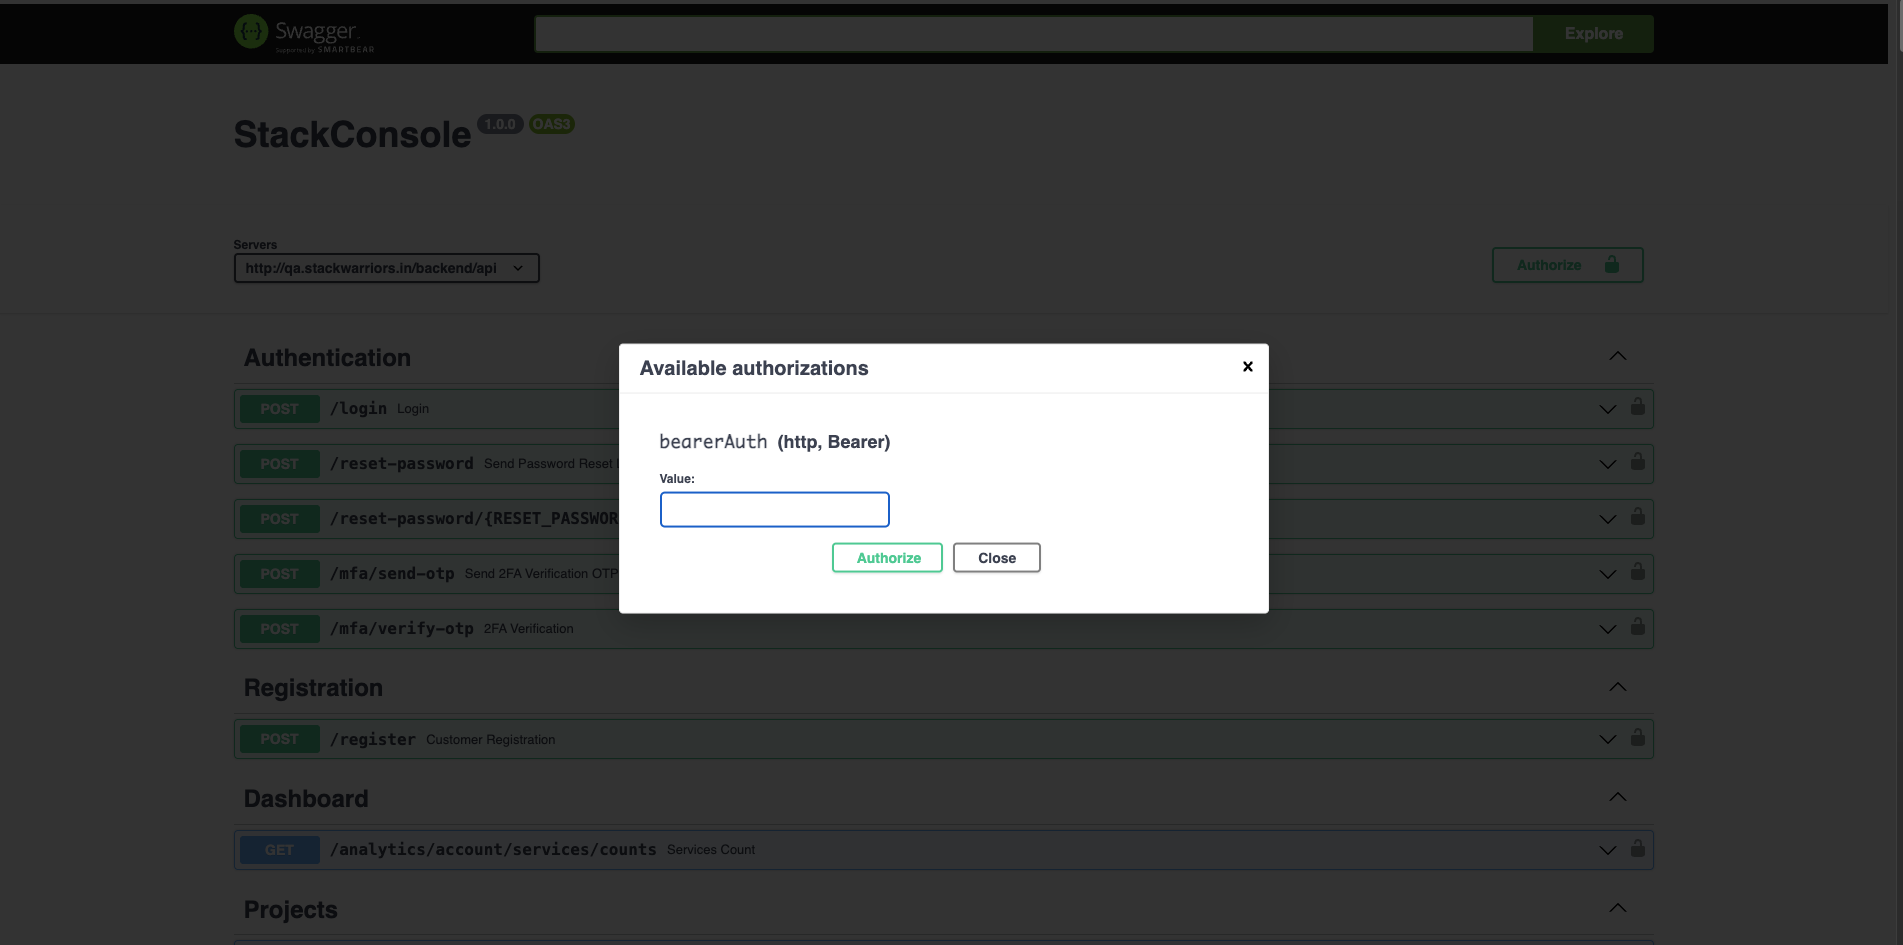
Role-specific API access and permissions
To allow a user to use APIs, create a custom role with the required permissions, then assign that role to a subuser.
Step 1 — Create a role with required permissions
- Go to Profile
- Open the Roles tab
- Click Create Role
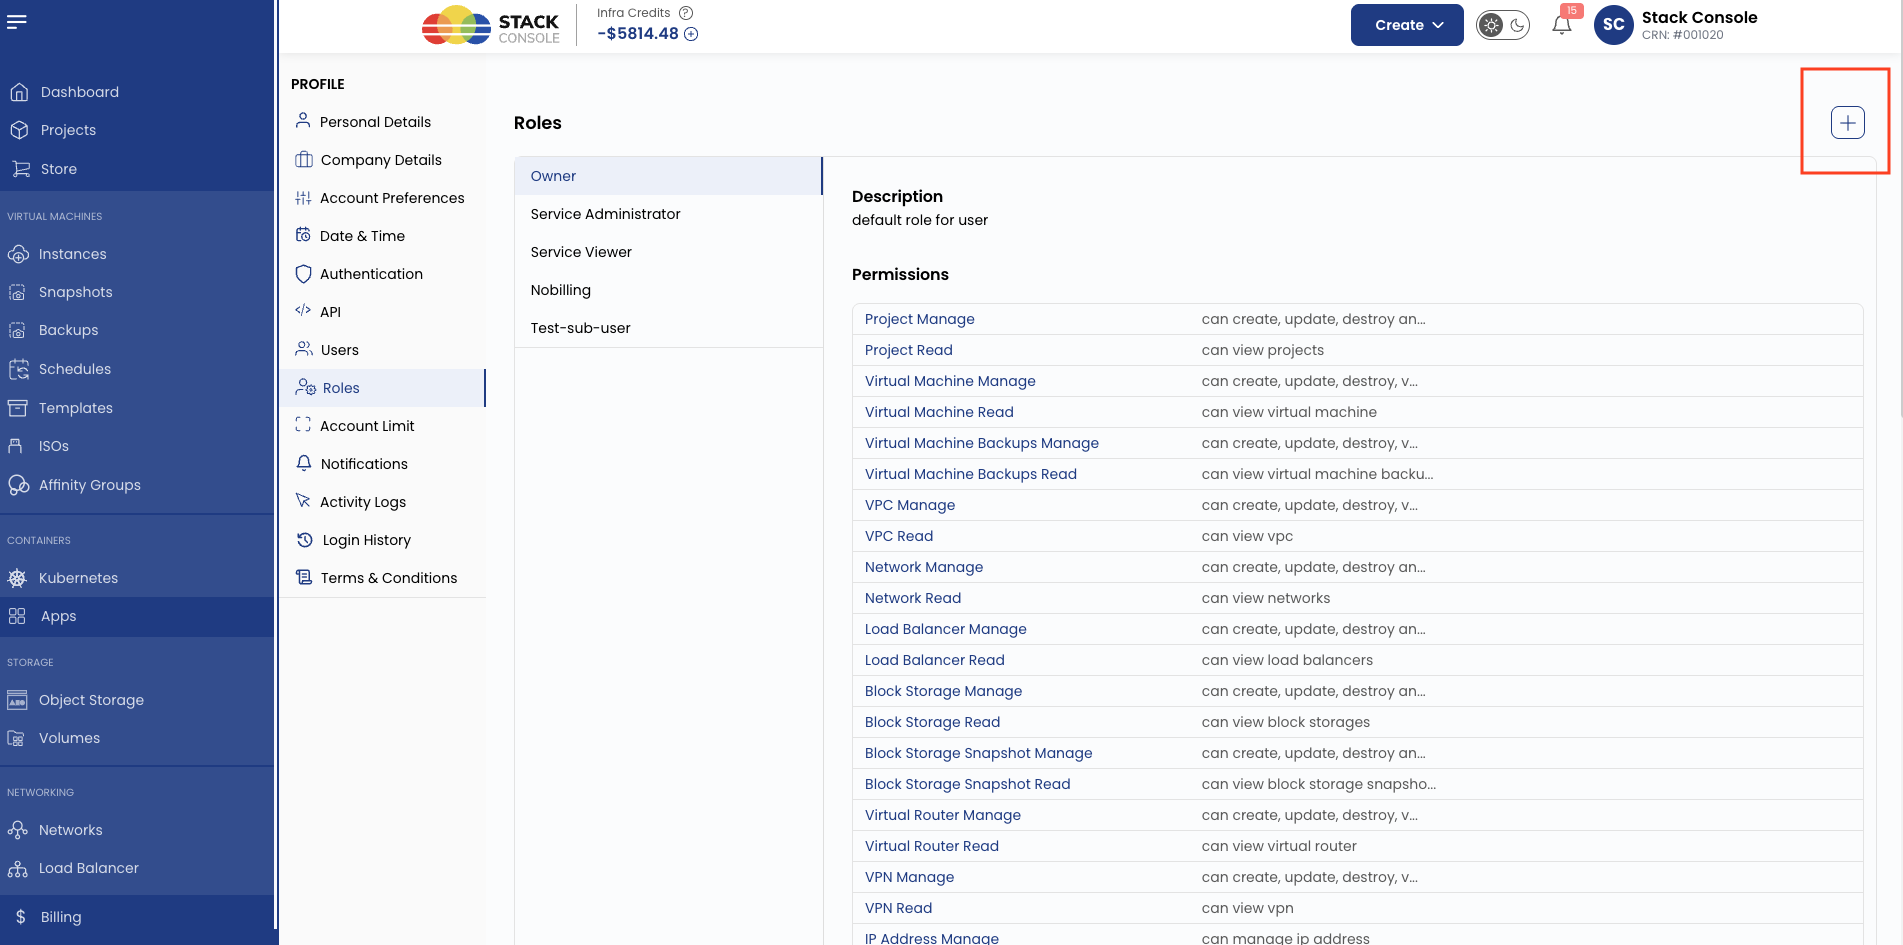
Step 2 — Select required permissions
From the permissions list, enable the permissions required for API token generation and API access under at least:
Enable each permission exactly as required for your integration use case (match your environment’s permission checkboxes for these sections).
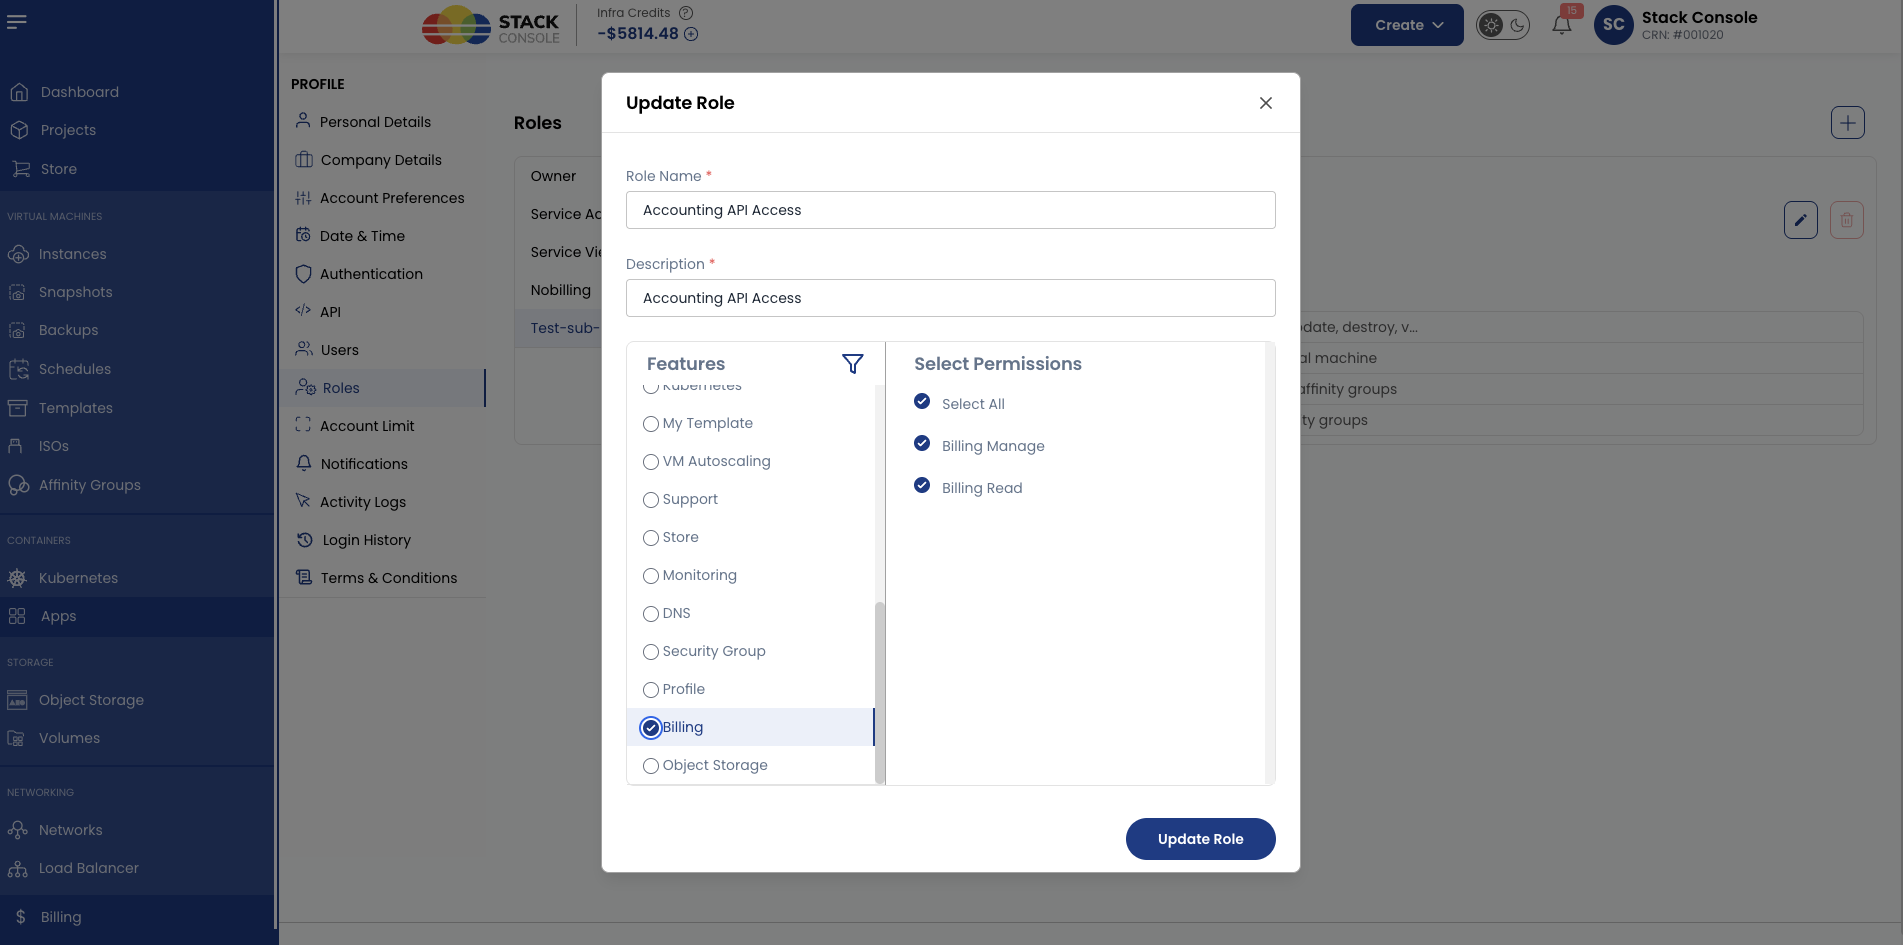
Step 3 — Save the role
- Enter a Role Name (for example,
API Access Role) - Add an optional description
- Click Save
The custom API-ready role is now created.
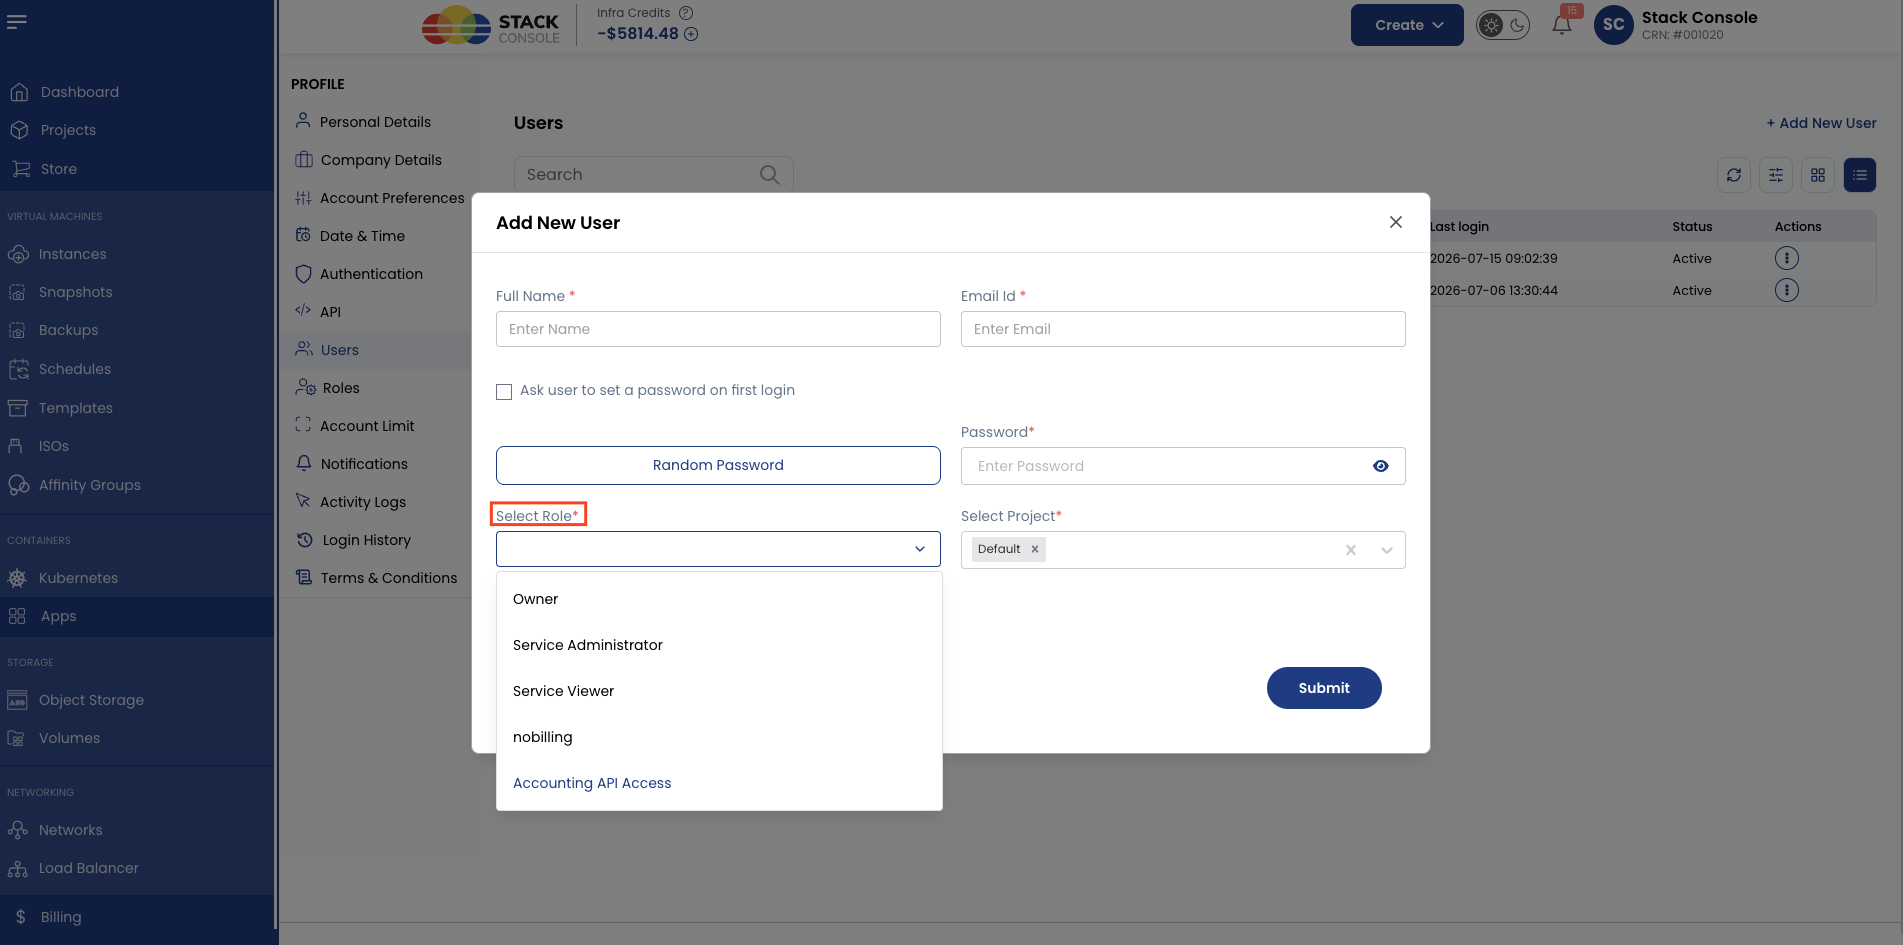
Step 4 — Create a subuser and assign the role
- Open the admin panel
- Go to Profile → Users
- Click Create User
- Enter user details (name, email, password, and so on)
- In Role, select the role created in Step 3
- Click Save
That subuser can now generate an API token and call APIs allowed by the role.
Important notes for integrations
- After you generate the API access token with the subuser account, you do not need to log in again or regenerate the token for each call
- The token is for system-to-system integration — configure it in your backend or application to fetch plans, pricing, and other API data automatically
- This token is not related to end users browsing your website
- End users do not need to log in or generate tokens to view packages, pricing, or UI data — your site should use the single integration token on the backend